

Metainformationen zur Seite
- de
Set up a managed Apple ID on your iPad
Automatische Übersetzungen / automated translations
What is an Apple ID?
If you already use an Apple device, you already know your personal Apple ID. It is a prerequisite for downloading apps from the Appstore. It also offers you convenient functions, such as 5GB of free iCloud storage space for automatically backing up your device or synchronising your apps and photos across different devices.
What is a Managed Apple ID?
The Managed Apple ID offers all of this, but you can't use the App Store or install your own apps with it. The apps available on your device are determined by your school. You have 200GB of cloud storage available in the iCloud. The managed Apple ID is designed so that you can separate private and school or professional use and avoid monthly costs for the iCloud. At the same time, the Managed Apple ID offers a higher level of data protection if your school provides you with an anonymised managed Apple ID is made available to you.
However, it is mandatory to provide a mobile phone number. This mobile phone number gives you access to your work or school content if you forget your password for your Managed Apple ID. At the same time, the mobile phone number is a second factor that prevents others from gaining access to your data if, for example, your password becomes known. If you are a student, you should not store your own mobile phone number, but that of your parents. You will then always need the help of a parent to restore your iPad, for example, if the worst comes to the worst, but you will not disclose any personal data.
Step 1: Set up your Managed Apple ID
You have received access data from your school. These consist of an e-mail address (e.g. mustermann@appleid.c-a-g.de ) and a password ( e.g. FTz5ySAr ).
Visit the website https://school.apple.com. You must use Chrome, Chromium, Safari or Edge. The Firefox browser does not work.
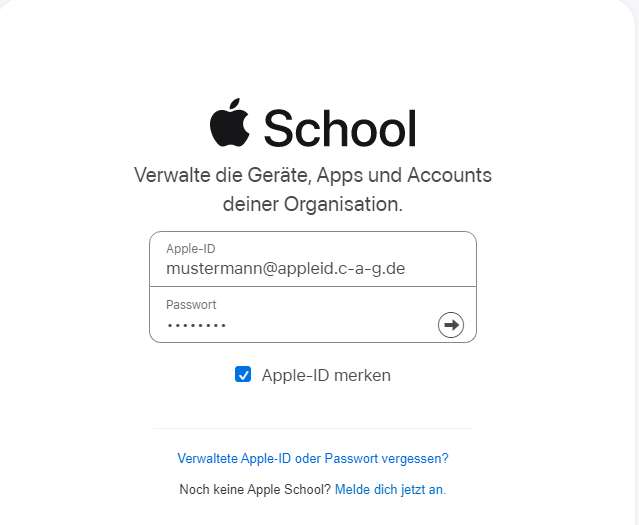 Enter the e-mail address in the „Apple ID“ field and the password in the „Password“ field - the access data provided by your school.
 Now you need to enter your mobile phone number - if you are a student, it is best to enter the number of the parent who is currently helping you with the setup. Click on „Continue“ after entering your mobile phone number. You will receive a text message with a code that you must now enter.
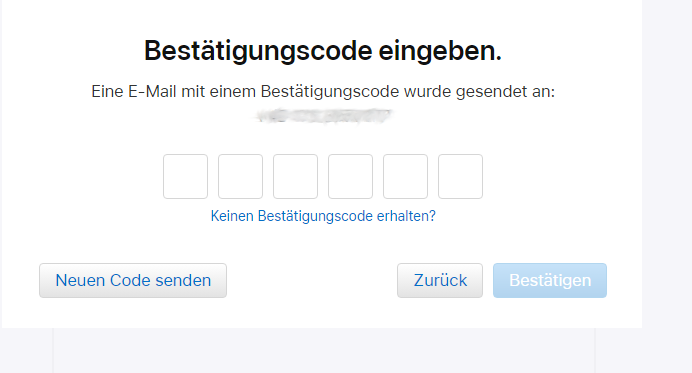 Click on „Confirm“. In the next step you have to assign yourself a new password. In the top field, enter the password that your school sent you with the access data.
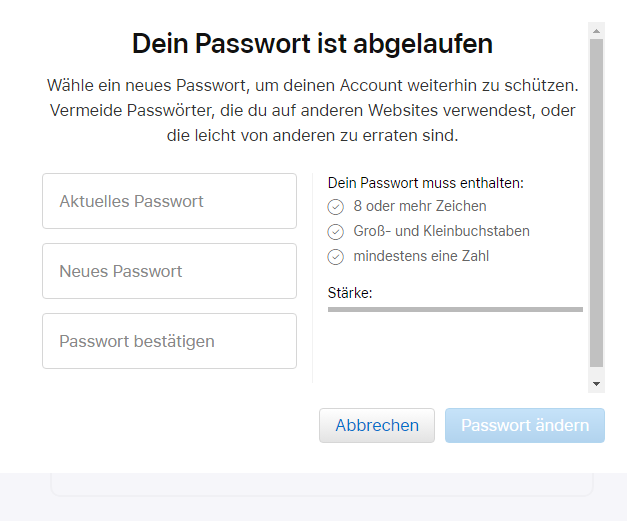 Then click on „Change password“. Please remember your password well! (You can use your mobile phone number to reset it if necessary). If everything went well, you will see this dialogue box:
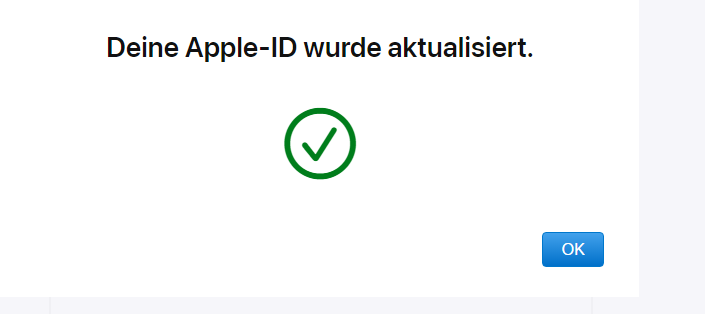 Click on „Ok“ - then you are done after a data protection information. However, if your school has worked well, there will be hardly any personal data.

Step 2: Sign in on your iPad with your managed Apple ID
You will need the access data you have just created. These consist of an email address (e.g. mustermann@appleid.c-a-g.de ) and the password you set at the end of step 1.
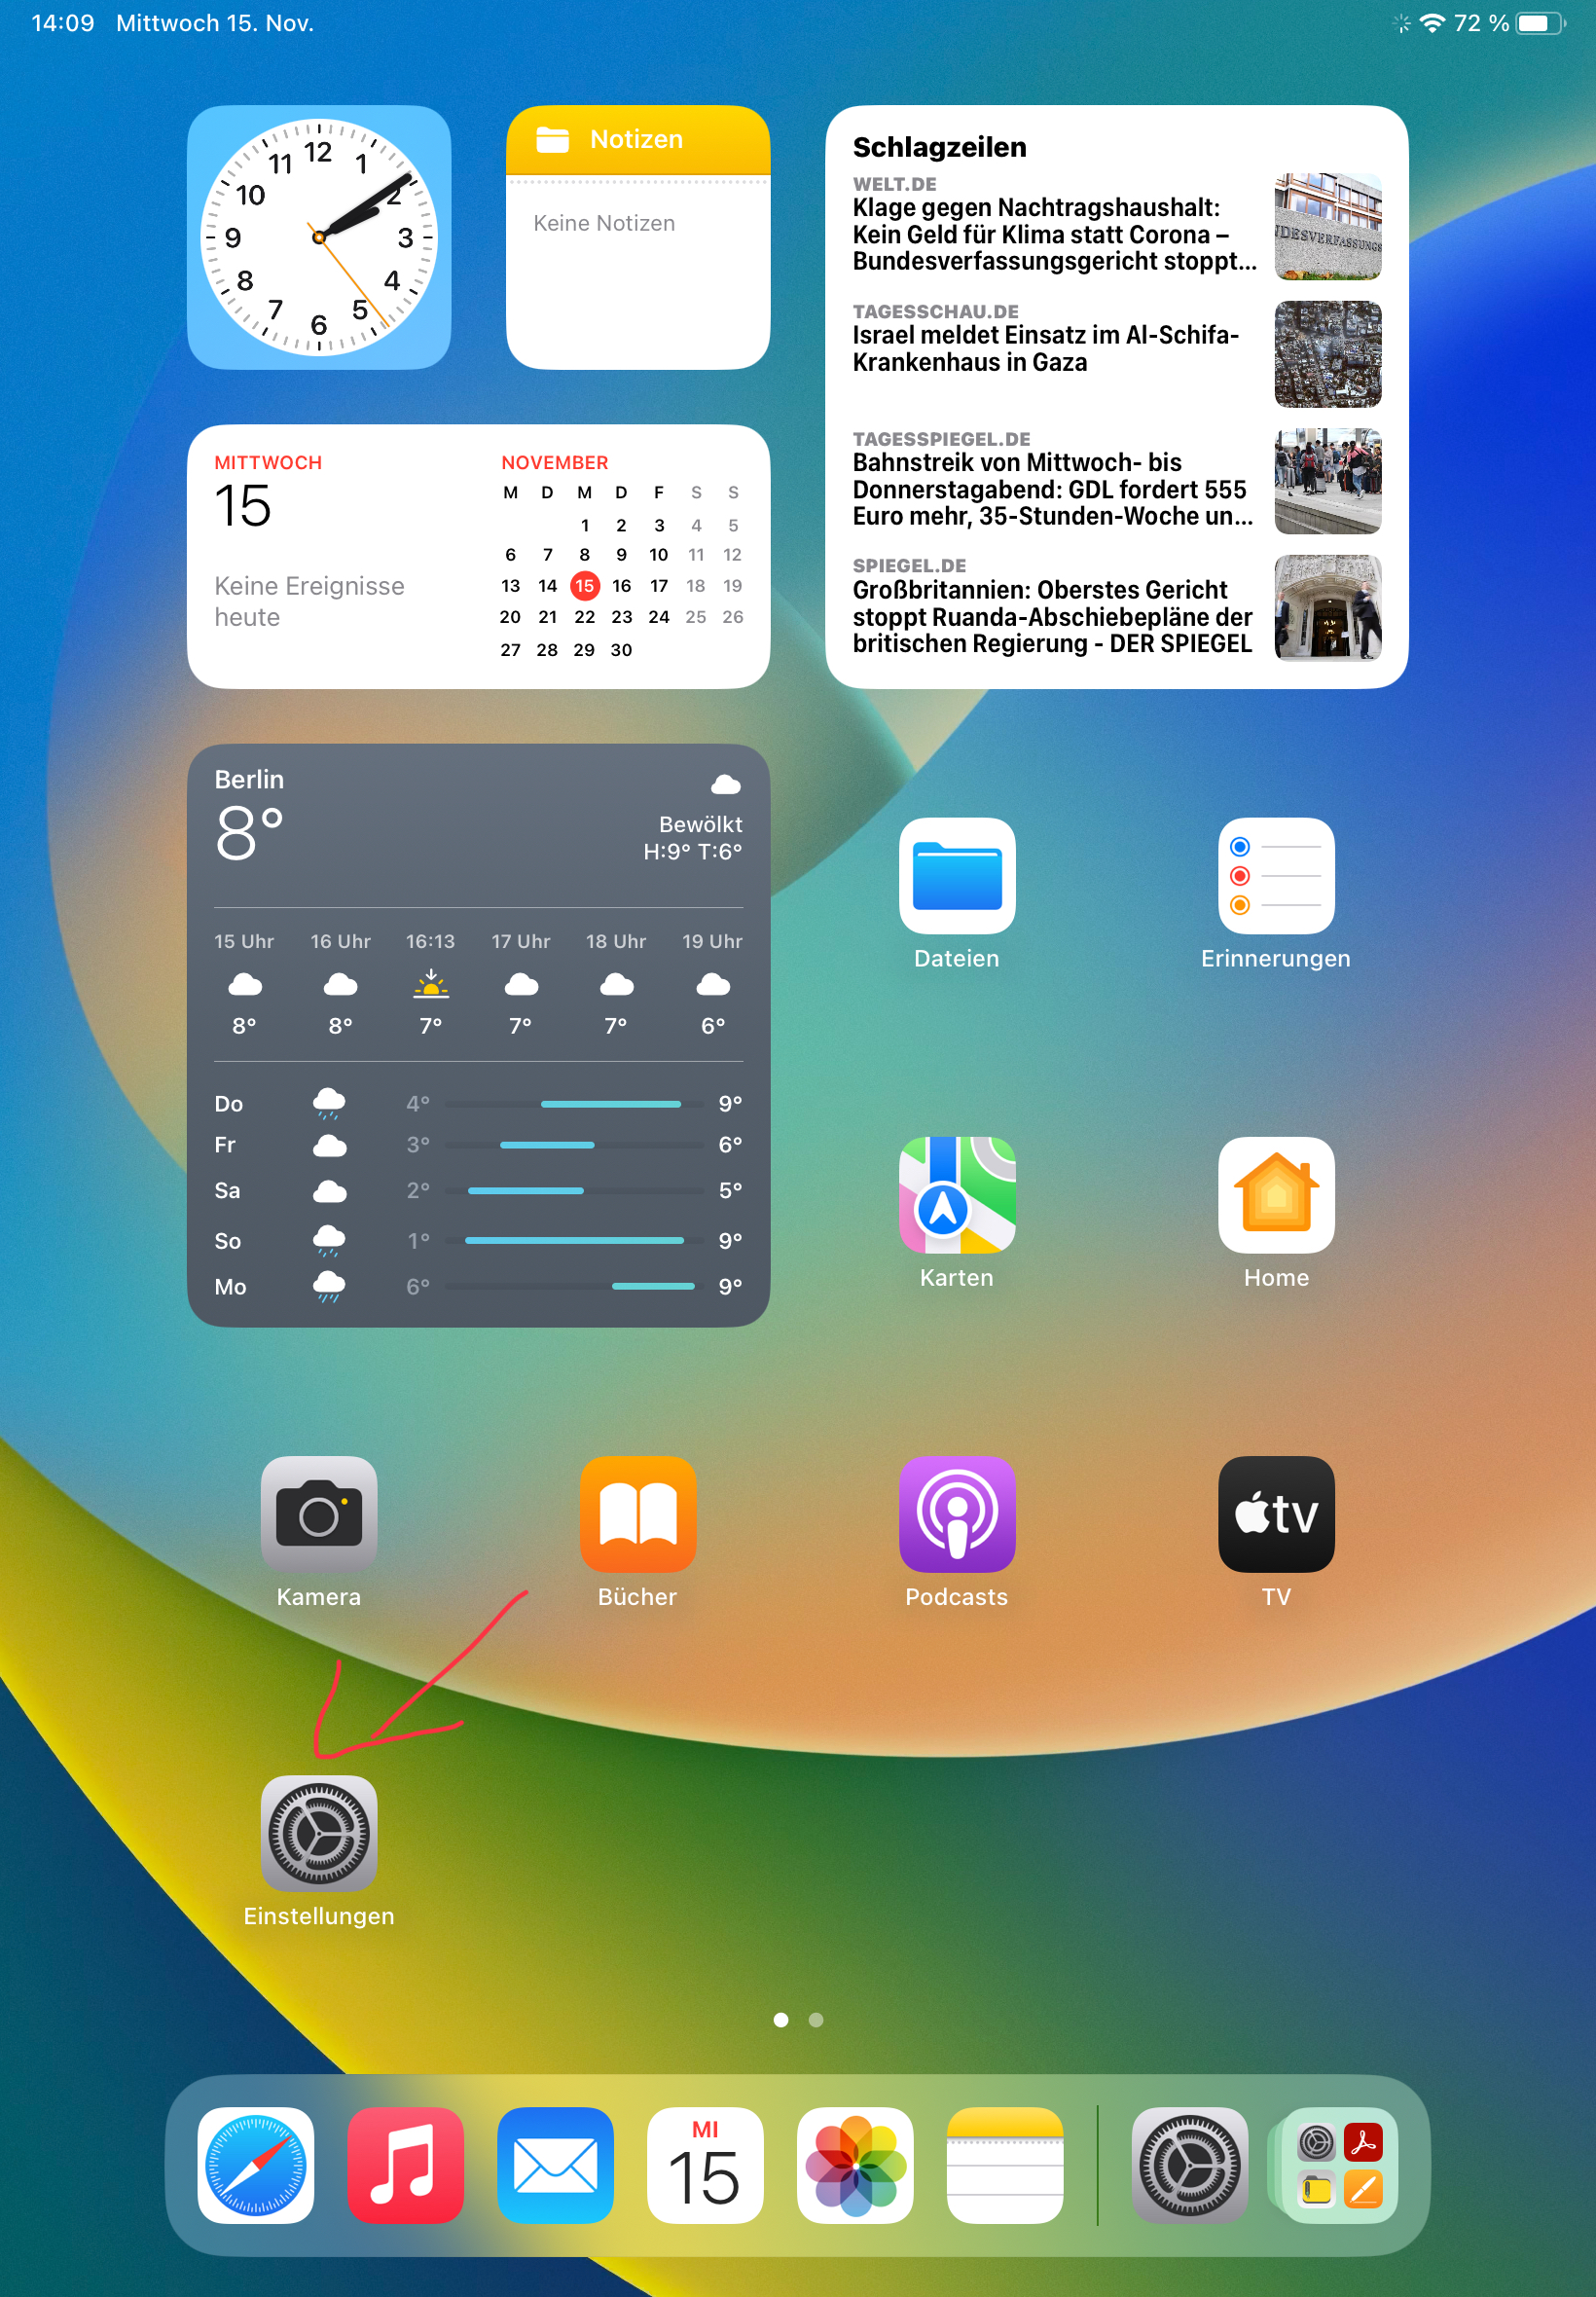
Go to the settings on your iPad:
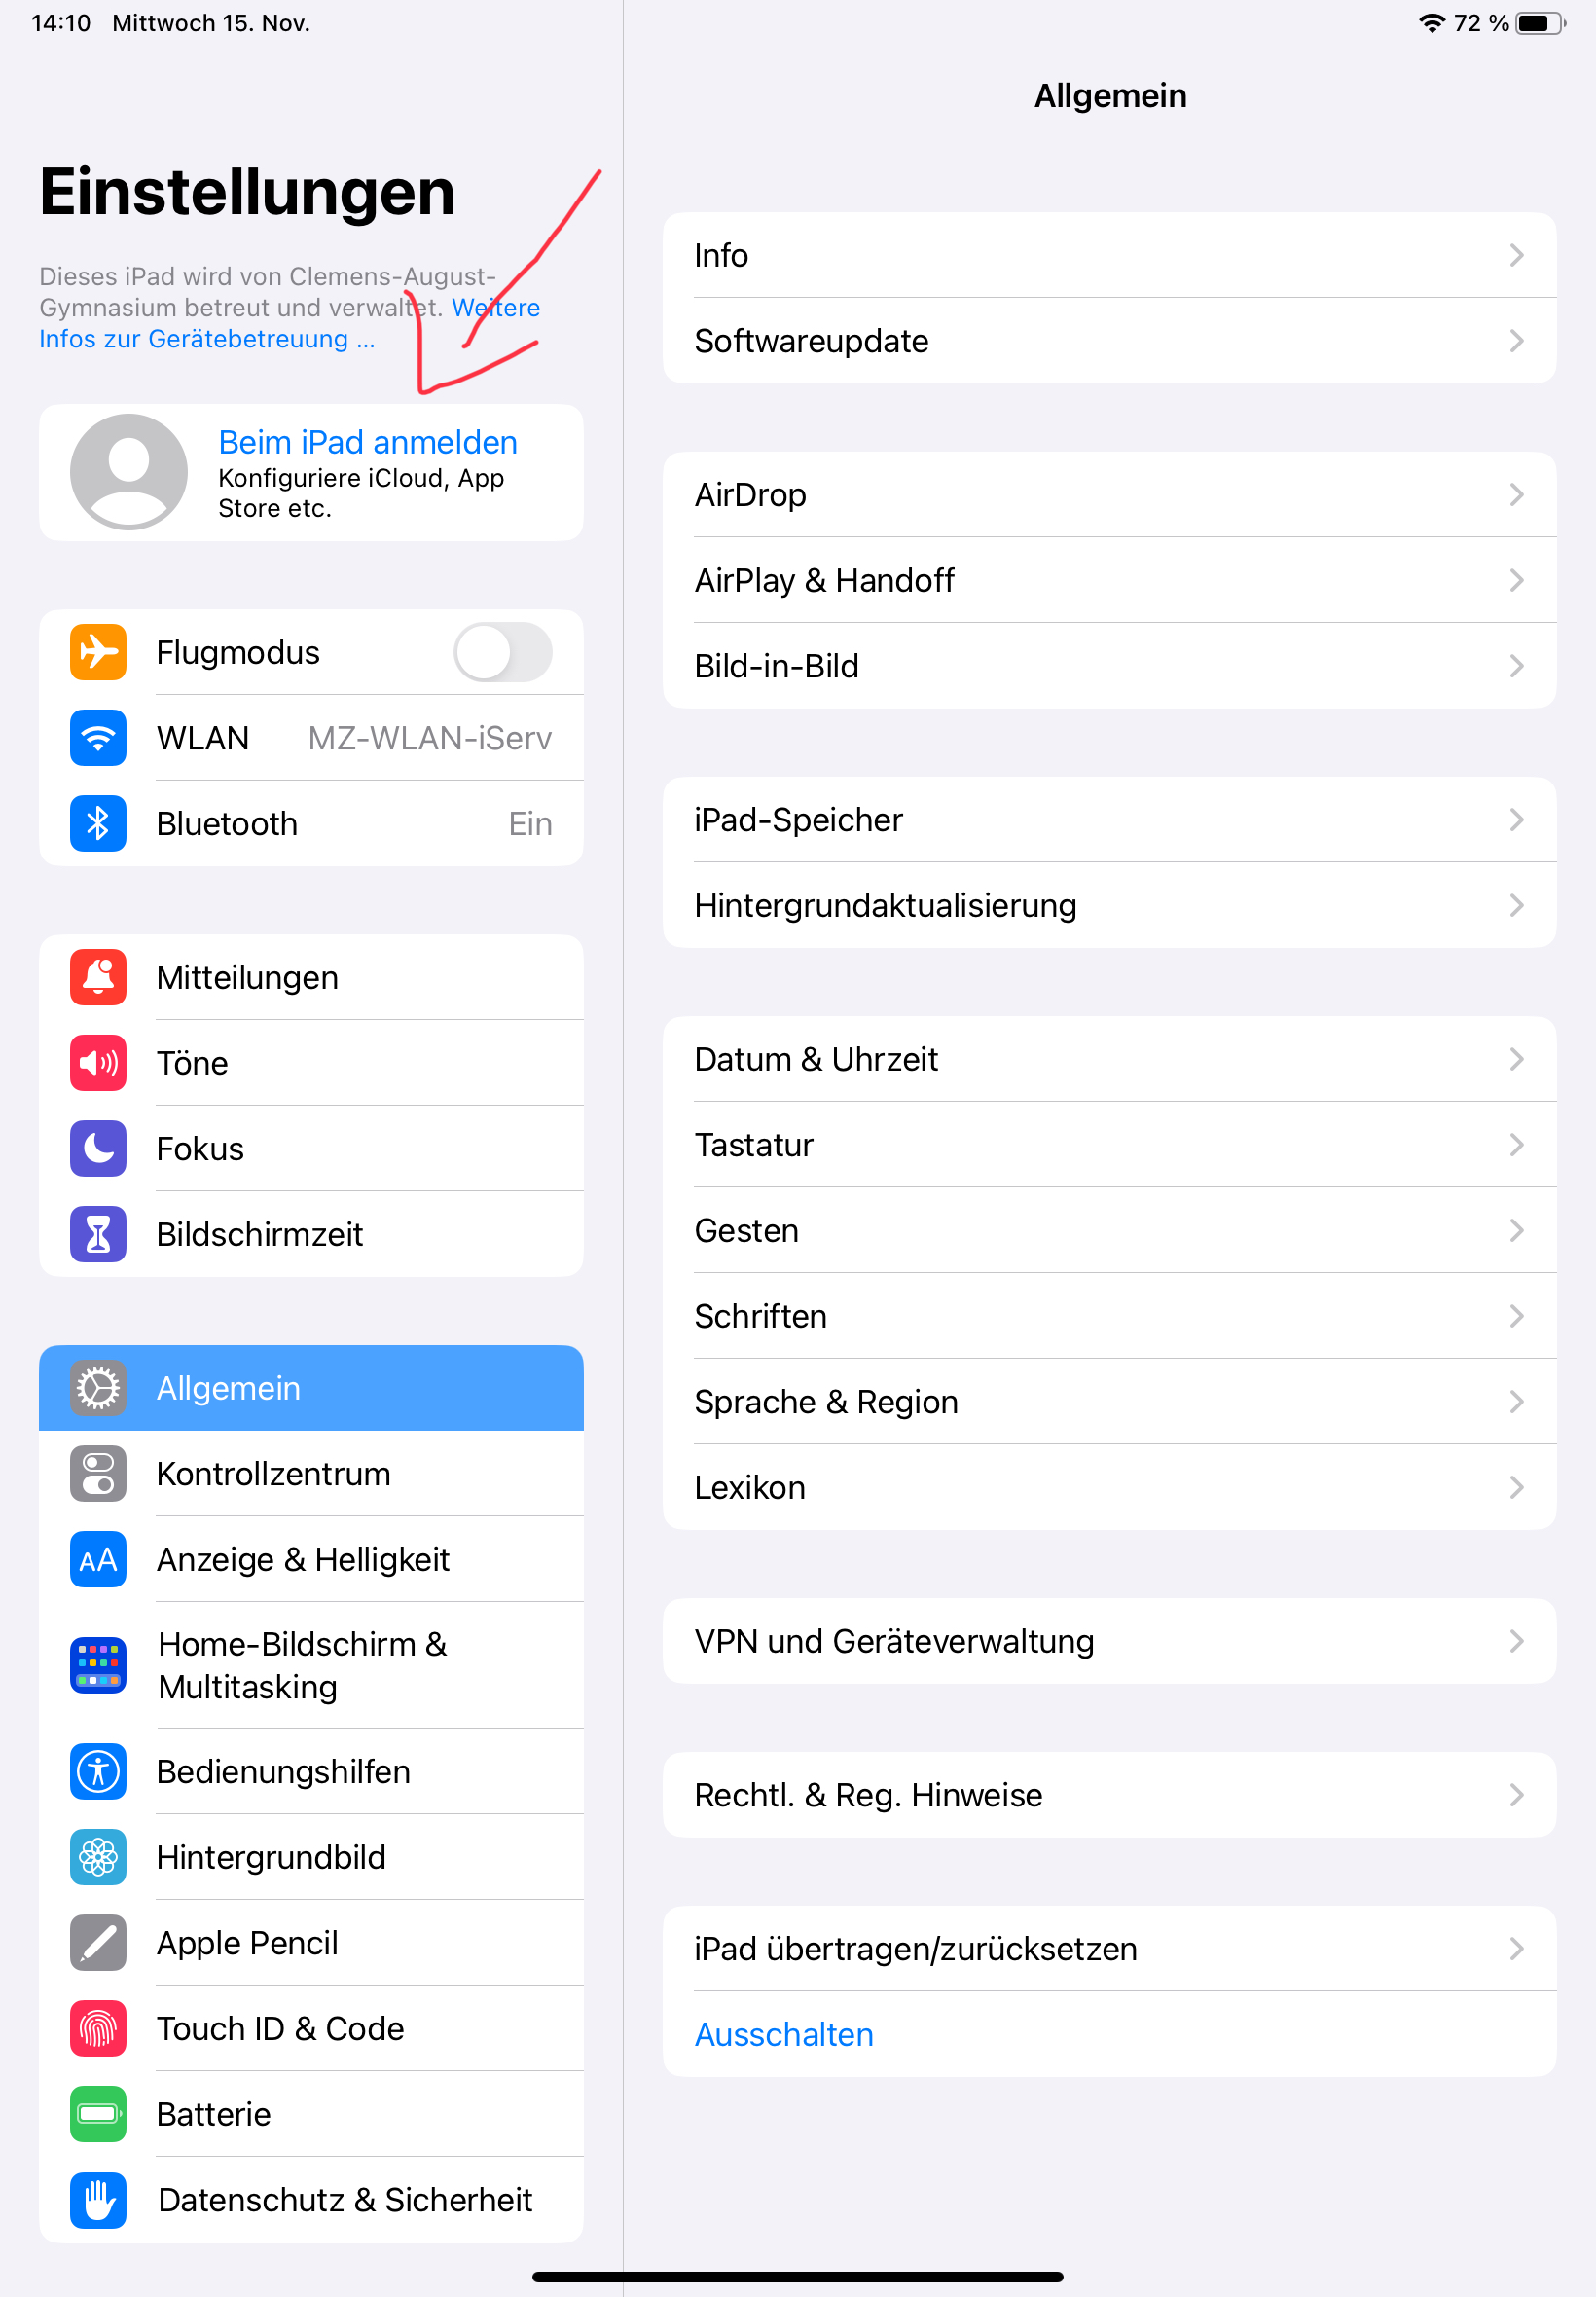
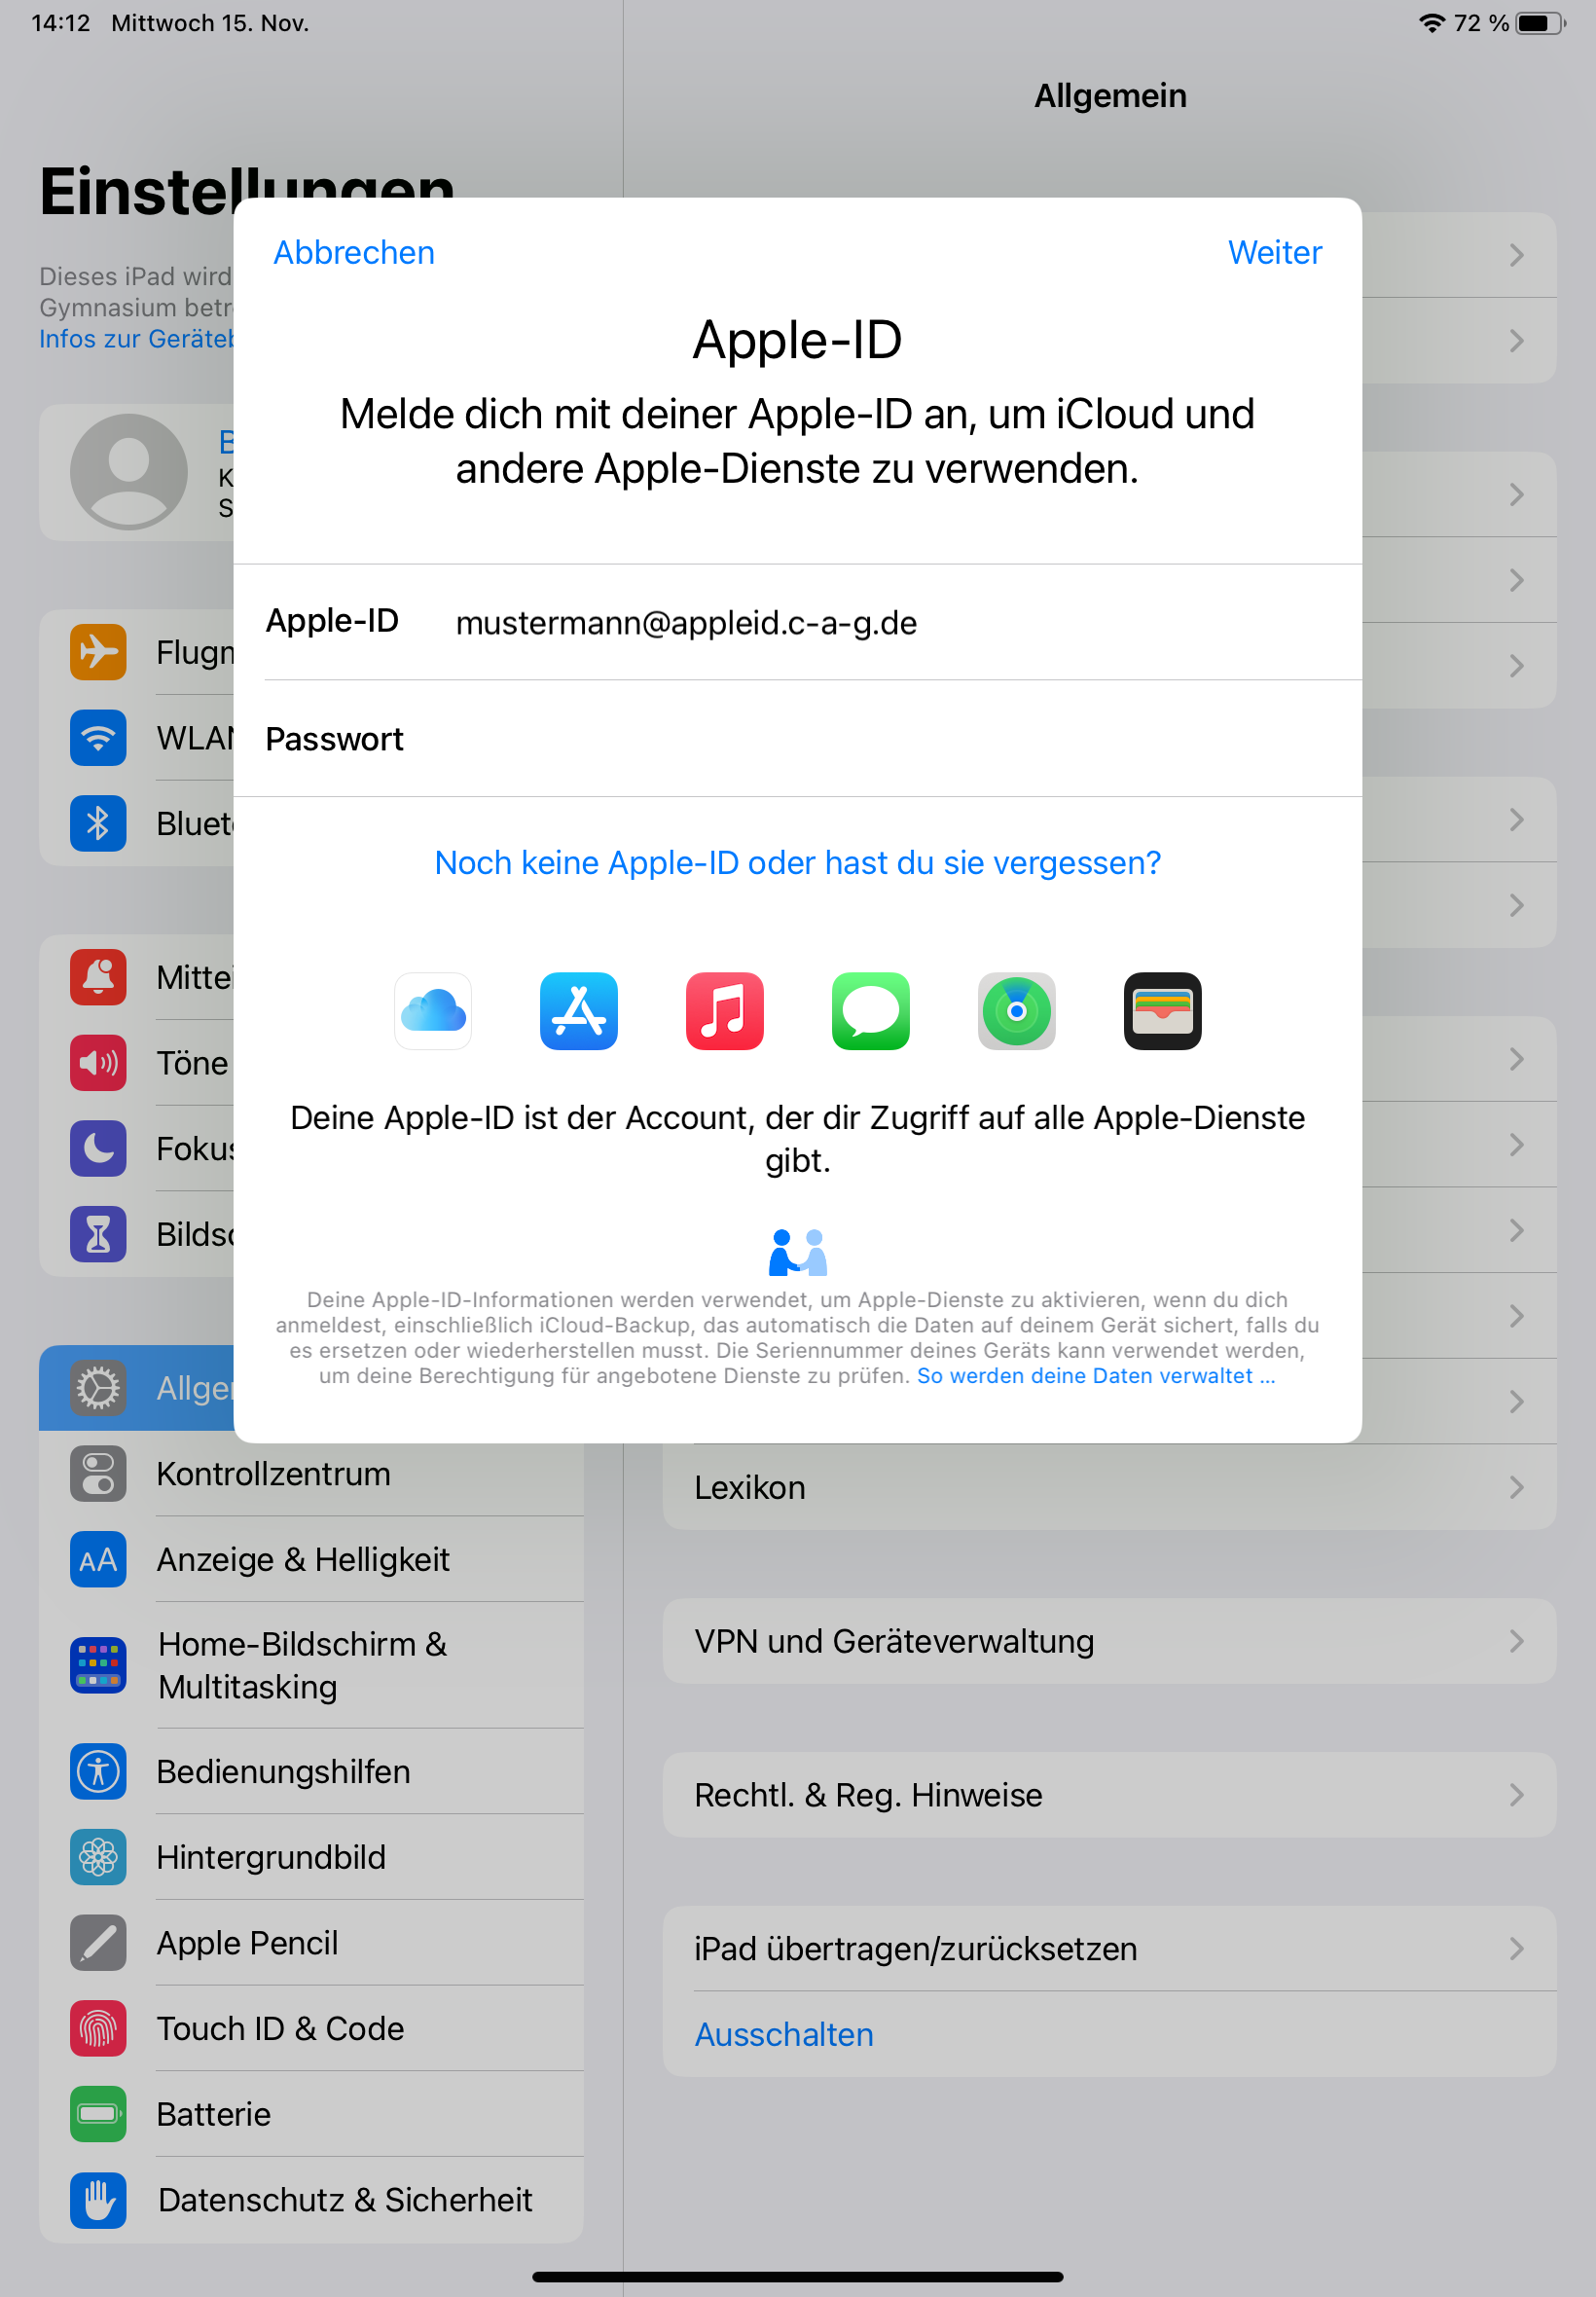
Tap „Log in to iPad“ in the top left-hand corner:
Enter the e-mail address provided by the school here:
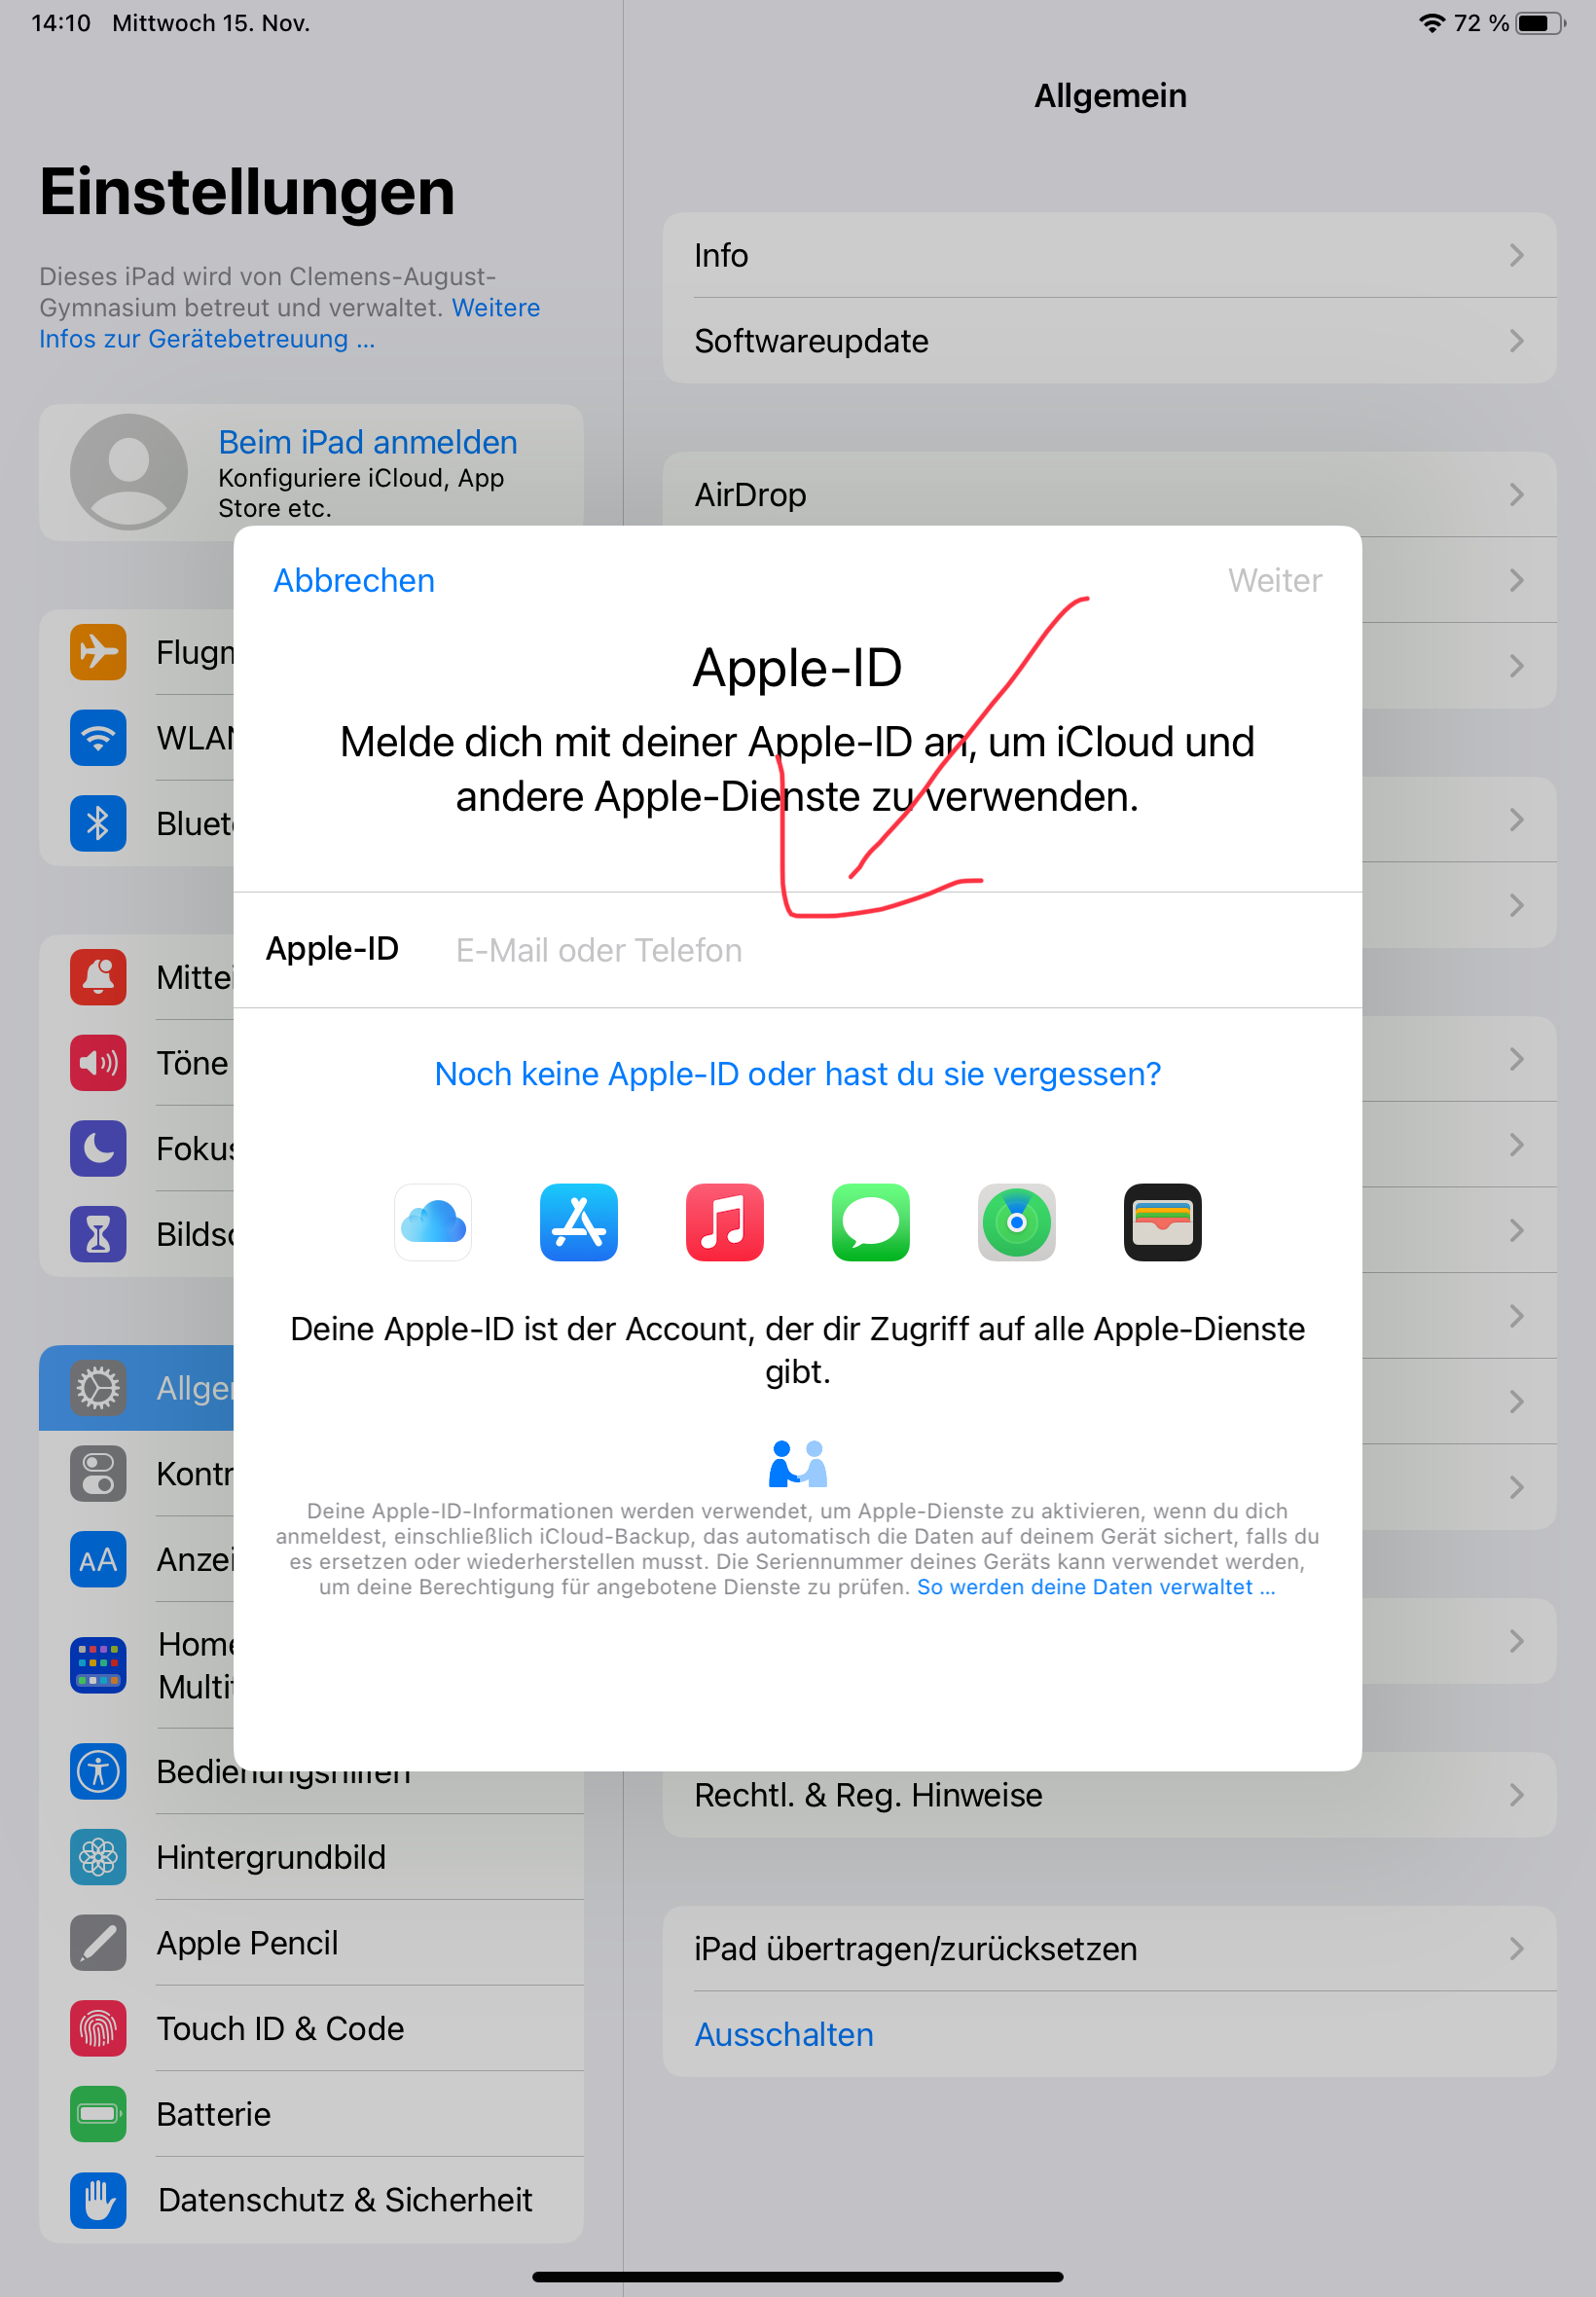 Then tap on „next“ in the top right-hand corner.
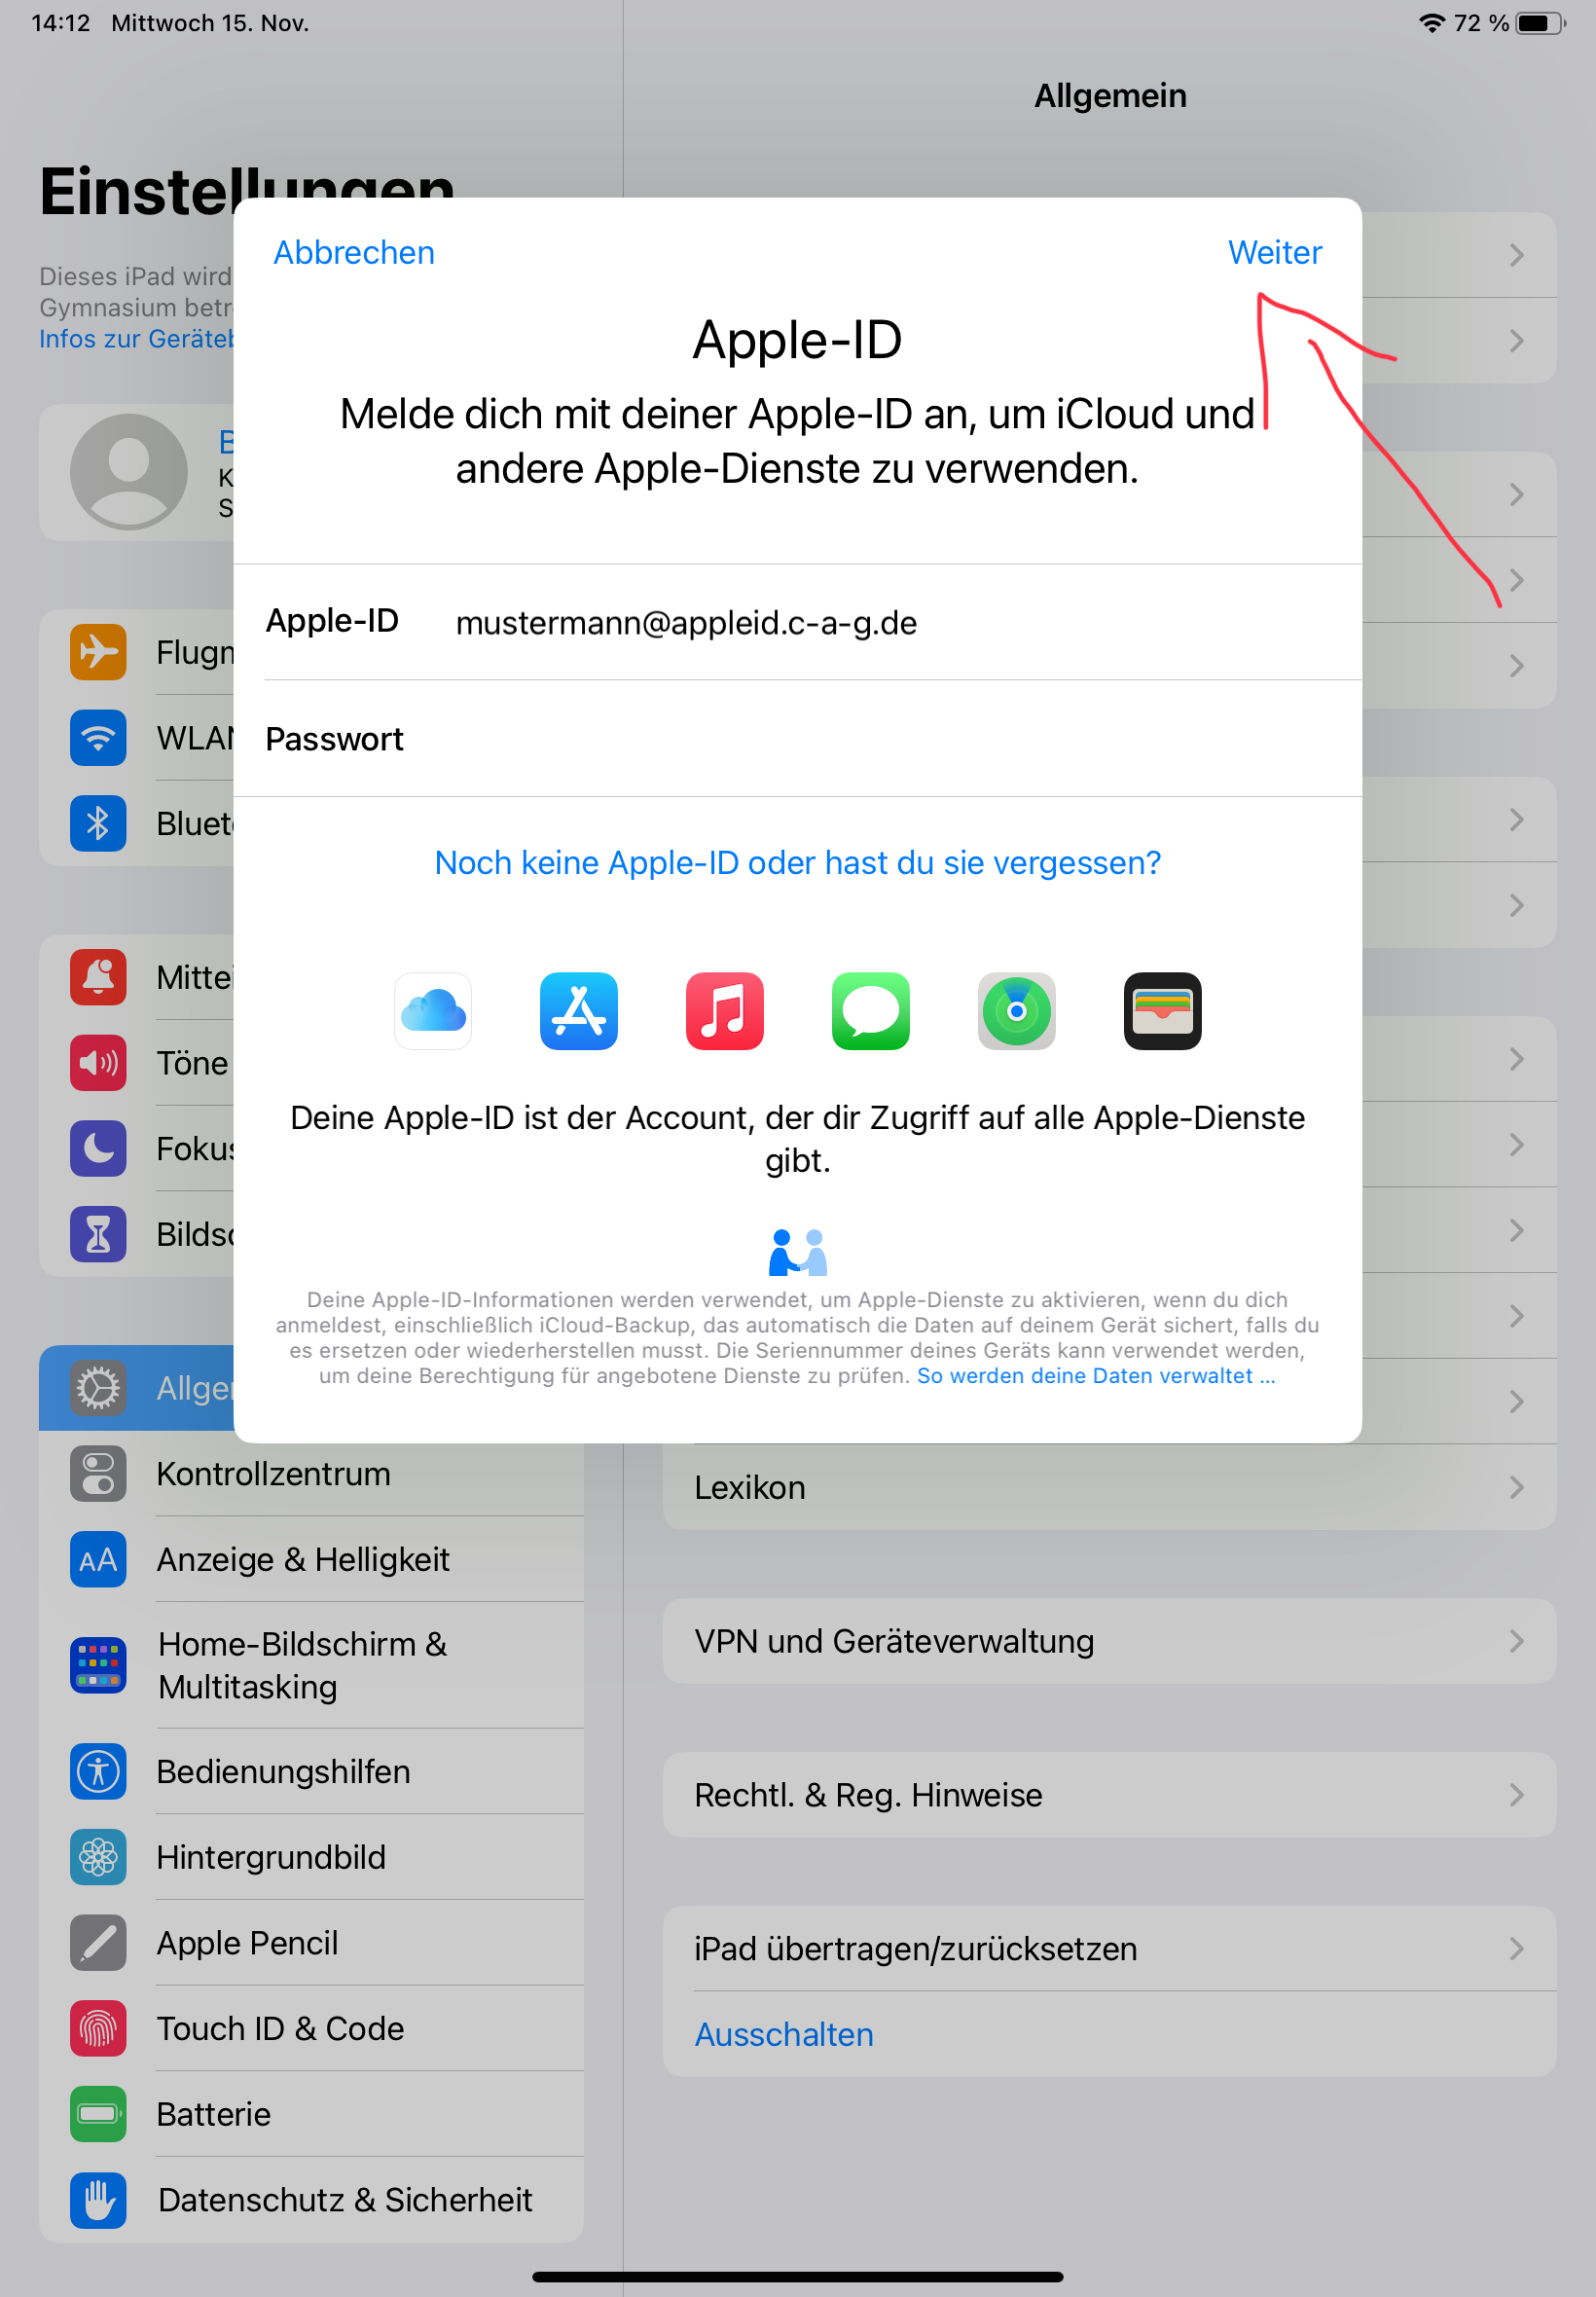
Enter the password you set at the end of step 1:
 Then tap „Next“ in the top right-hand corner.
You will now be sent another code by text message to the mobile phone number you entered. Enter this code.
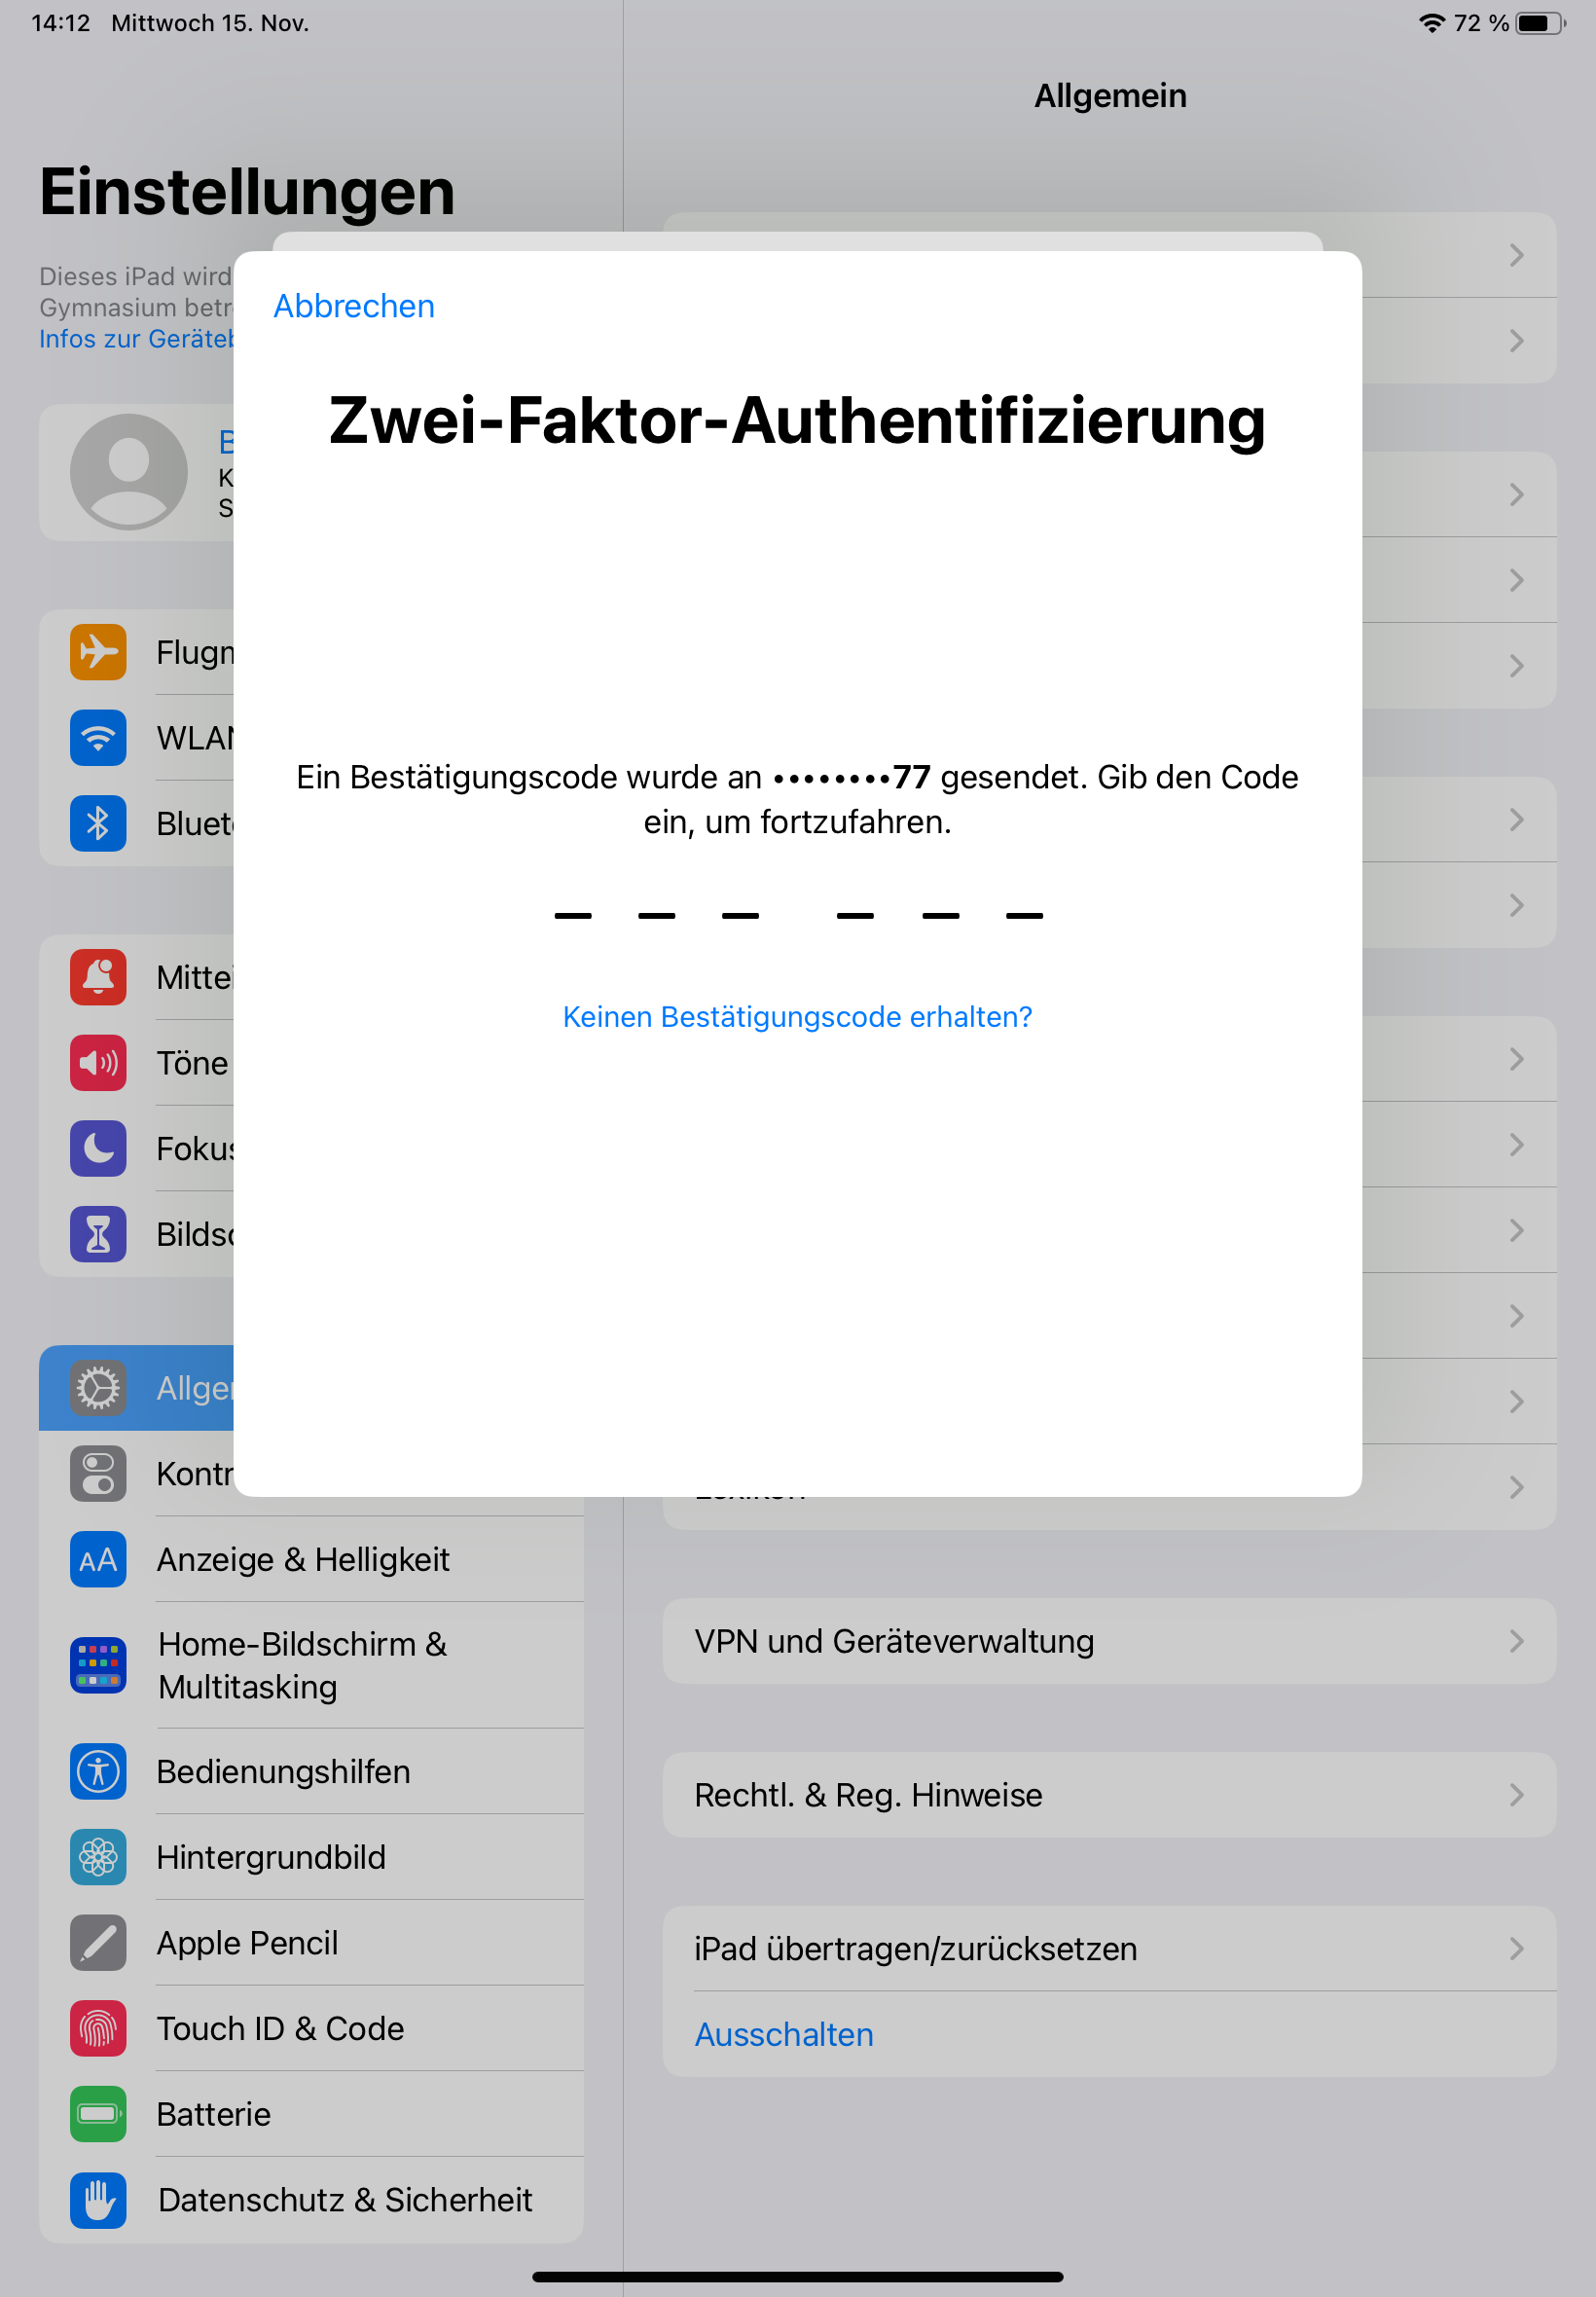
Mobile phone number as 2nd factor
Because a second factor is required to log in, nobody can log in on another device with your managed Apple ID, even if they have the access data. Access to the stored mobile phone number is also required.
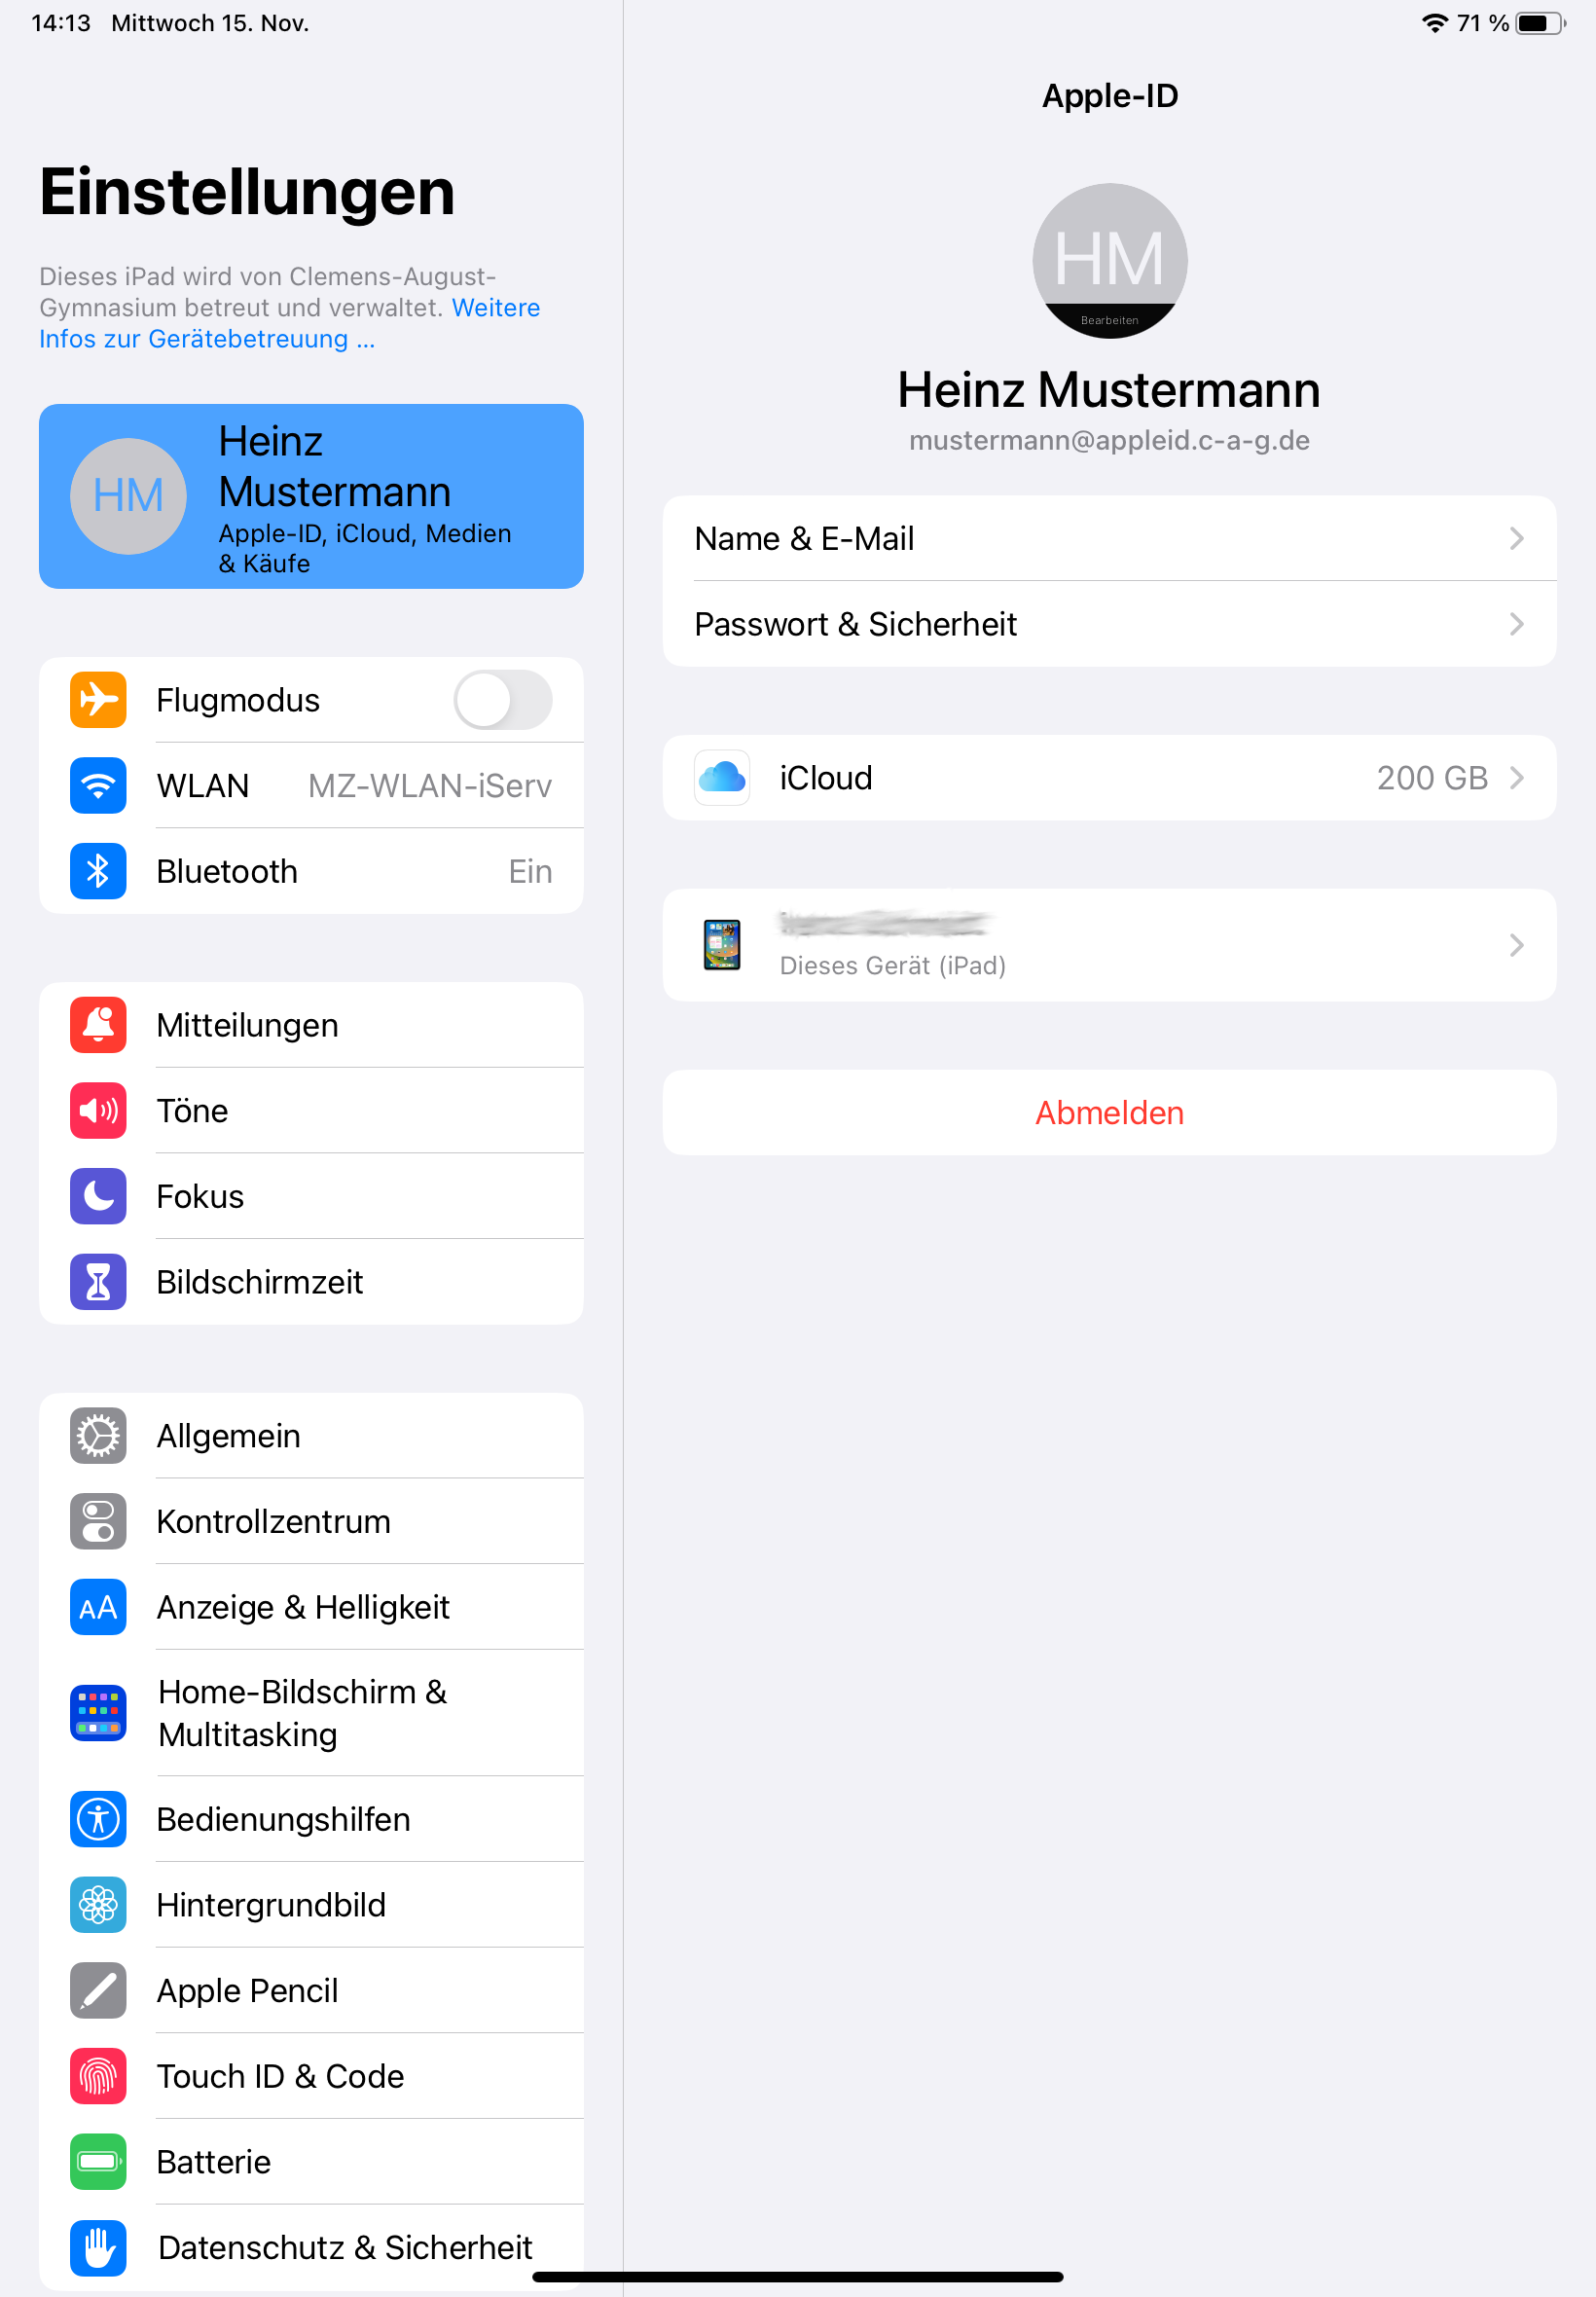
This completes the setup.
Now tap on the device name to set up backups for your iPad so that you can restore it in the event of loss or technical defects.